

Once in a while when I'm scrolling through Pinterest, telling myself that I'm just "taking a break," and that I definitely won't spend more than 10 minutes looking at recipes and crafts I'll never make, I come across an amazing tip. A tip that makes all of my Pinterest-scrolling worthwhile, and makes me wonder: Where has this been all my life? Why didn't I think of that?
I recently discovered such a tip called The Wreath Trick on the Ella Claire blog. In her post, Ella shows how you can create a full, lush, expensive looking wreath by simply binding two smaller wreaths together with some pipe cleaner. Genius, right?
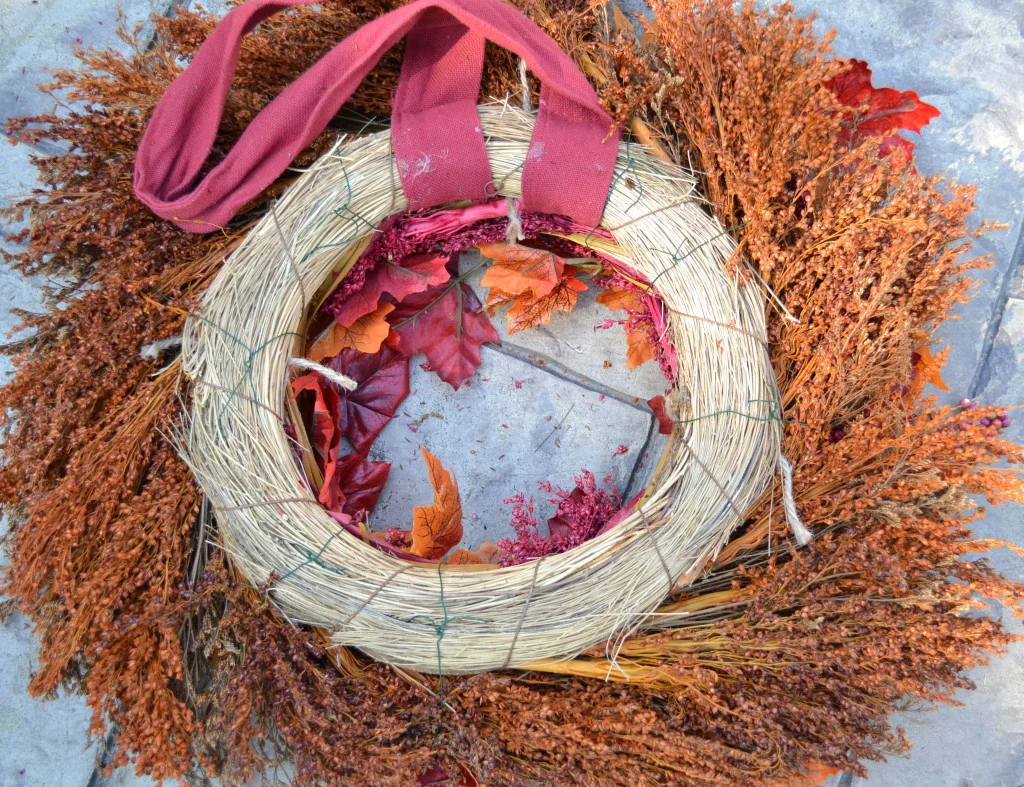
On the day I found the tutorial, I had just tossed an old fall wreath out by our trash bin to be hauled away. It was kind of flat and smashed, it was coming apart in a few places, and the colors had started to fade. It was just sort of a blah, sad looking wreath.


But after I read Ella's tip, I went and rescued it from the curb, thinking that maybe I could spruce it up a little by attaching it to something else.
I only take on DIY projects when I think they'll be easy and also inexpensive. So to keep costs down, I decided that instead of buying a whole separate wreath to attach to my sad wreath, I would just use some inexpensive fall garland to brighten it up and add a little more dimension.
Within five minutes of searching at Michaels, I found exactly what I needed for $4 on sale.


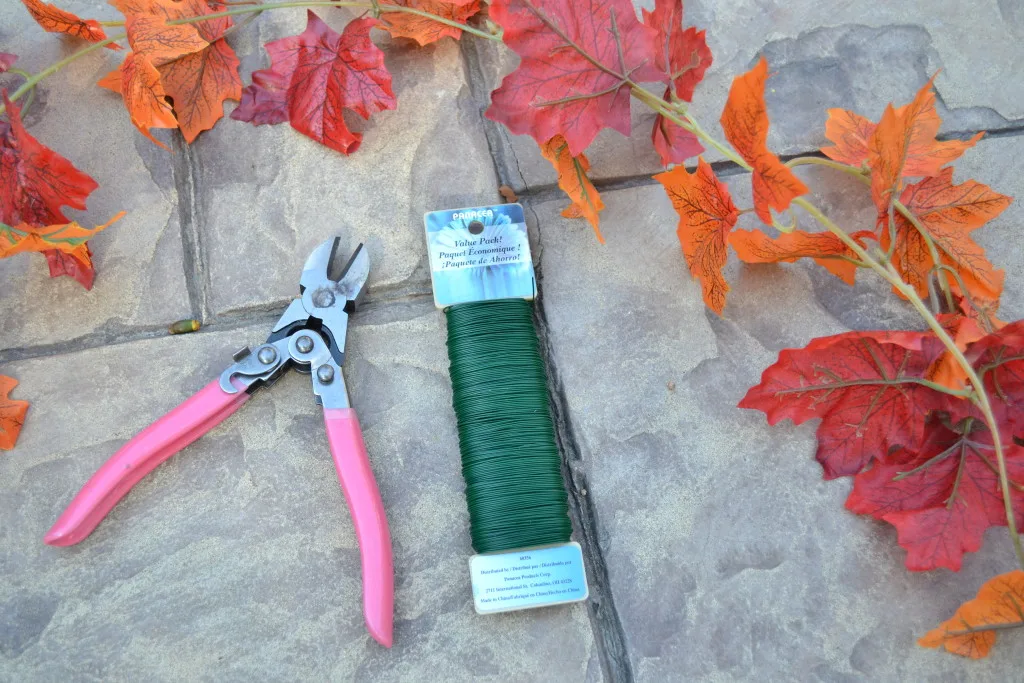
Since I already owned wire cutters, the only other thing I needed to buy was some floral wire, which I also found at Michaels for about $1 with my coupon. (Depending on what type of wire you use, you might not even need wire cutters; if the wire is thin enough, scissors will work just fine. You can also use pipe cleaners as long as you don't think they'll show too much on the front of the wreath.)

I arranged the leaf garland on top of the wreath, and used the floral wire to secure it. I twisted the wire together at the back of the wreath and then tucked in the ends so that they wouldn't scratch the door when the wreath was up against it.

After only about five minutes, I had a totally brand new, revitalized wreath!


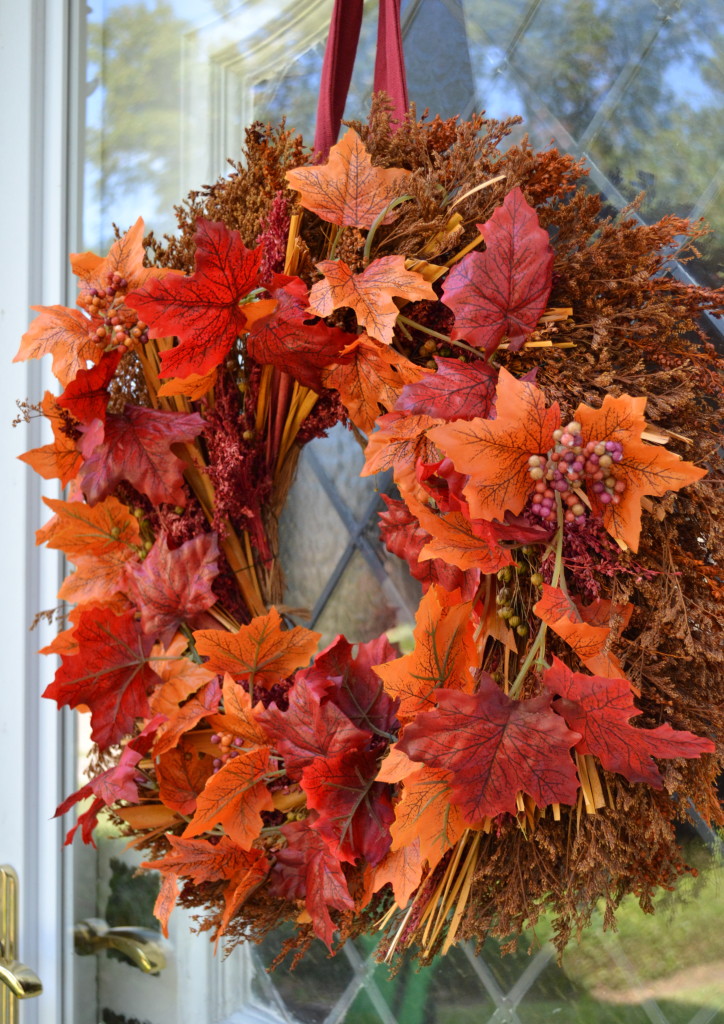


Isn't it much better? And I only spent $5 versus the $25+ I would have spent if I'd gone out and bought a brand new fall wreath.
Nice wreaths can be expensive, so if you have any old ones lying around, don't throw them away! They might just need a little makeover. Or, if you want to make a custom looking wreath for half the price, just buy a plain, inexpensive one and add a little pizzazz with some discounted garland or other embellishment.
This trick would work great on a holiday wreath — you could just buy a plain evergreen wreath and then spruce it up with some berry garland, pine cones, ornaments, or anything festive you can find.
Happy wreath-making!
Taylor
Friday 16th of October 2015
Wow, that is so beautiful!! What a great creative idea for a new wreath! It looks great, Alyssa!
Liz Jo
Wednesday 14th of October 2015
Totally different!! I just made a burlap wreath to help spruce up our house, not nearly as bright as yours though
liz @ sundays with sophie
Lori Hill-Smith
Thursday 8th of October 2015
I love taking old things and "bringing them back to life." Your "new" wreath is beautiful!!
Alyssa
Thursday 8th of October 2015
Thank you, Lori! It always feels good to make good use out of something instead of throwing it away.
Linda Riley
Wednesday 7th of October 2015
Whoa.......that was impressive and informative!!! I probably threw all my old wreaths away because I know I am hopeless when it comes to crafts!
Alyssa
Thursday 8th of October 2015
I've thrown out a bunch, too. It just never occurred to me that I could do anything to make it better.