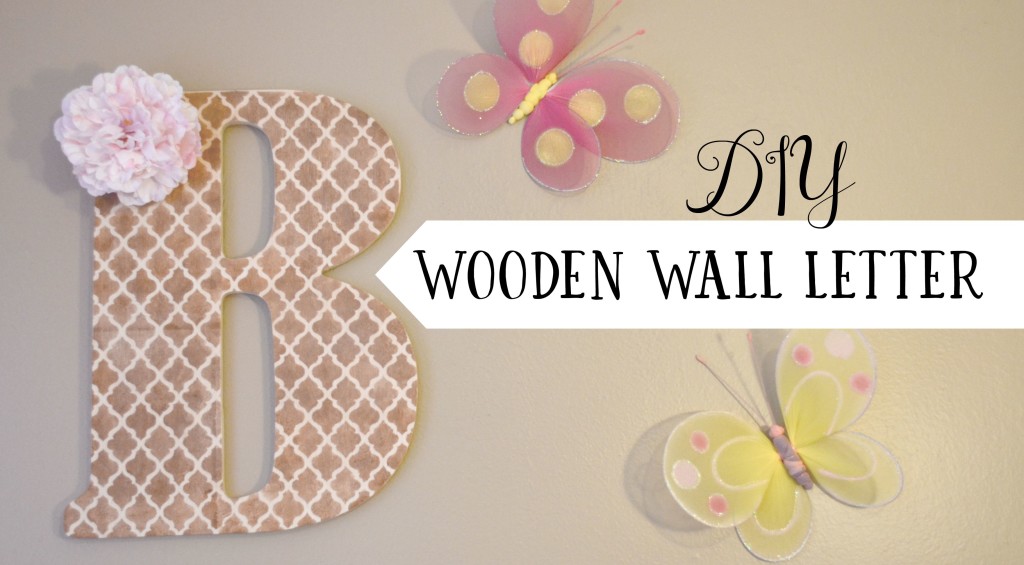

Look guys, I made a craft!!
As I may have mentioned before, my DIY/craft posts will be few and far between because I only take on projects that 1) will actually save me money, and 2) will be hard to mess up. On more than one occasion, I've seen something in a store and thought, "Hey, I bet I can make that myself for a lot less," only to have it end up costing me more money than the store-bought version, not to mention a lot of time and aggravation. Thankfully I've gotten a little more savvy, and I'm proud to say that this stenciled wooden wall letter was very inexpensive and quick to make.
I needed some decor to jazz up my 7-year-old's room, and I thought a big monogram letter would be a fun and easy solution. I found this 18" unfinished wooden letter at Hobby Lobby for around $7 (with a 40% off coupon), and bought it without knowing exactly what I was going to do with it.
The first idea I had was to wrap it with ombre yarn, like in this Pinterest post I found. But I quickly realized that while it worked great on the L in the example, it was a disaster trying to get the yarn to stick neatly around the bumps of the B. Chalk that up to an official Pinterest FAIL.
Onto Plan "B." I went back to Hobby Lobby and wandered aimlessly through the aisles waiting for inspiration to strike, which finally happened when I saw an aisle full of stencils. There were all kinds: chevron, zebra print, lace, polka dots, butterflies, etc. I chose the lattice one because it wasn't too trendy or childish (because 7-year-olds are SO big, ya know), and will hopefully stand the test of time.
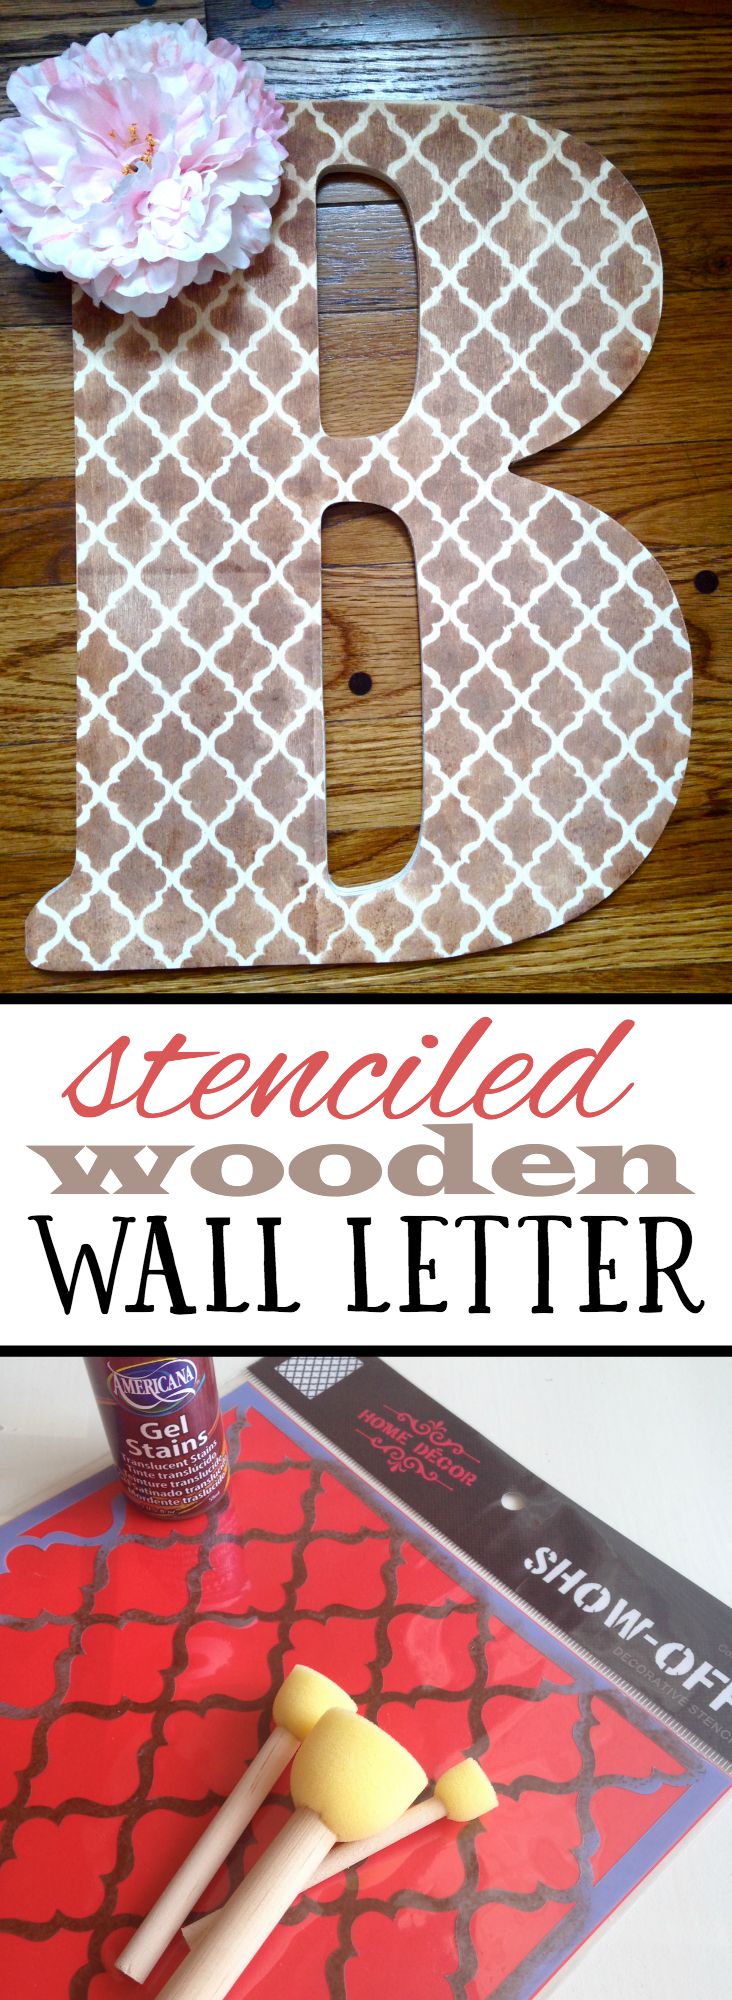
As I was debating which color I would paint it, I noticed a tiny bottle of wood gel stain amongst the paints. I liked the idea of the stain because it's neutral and would go with any future decorating changes we decide to make. I bought the stencil, the stain and some sponge brushes for about $7 total.

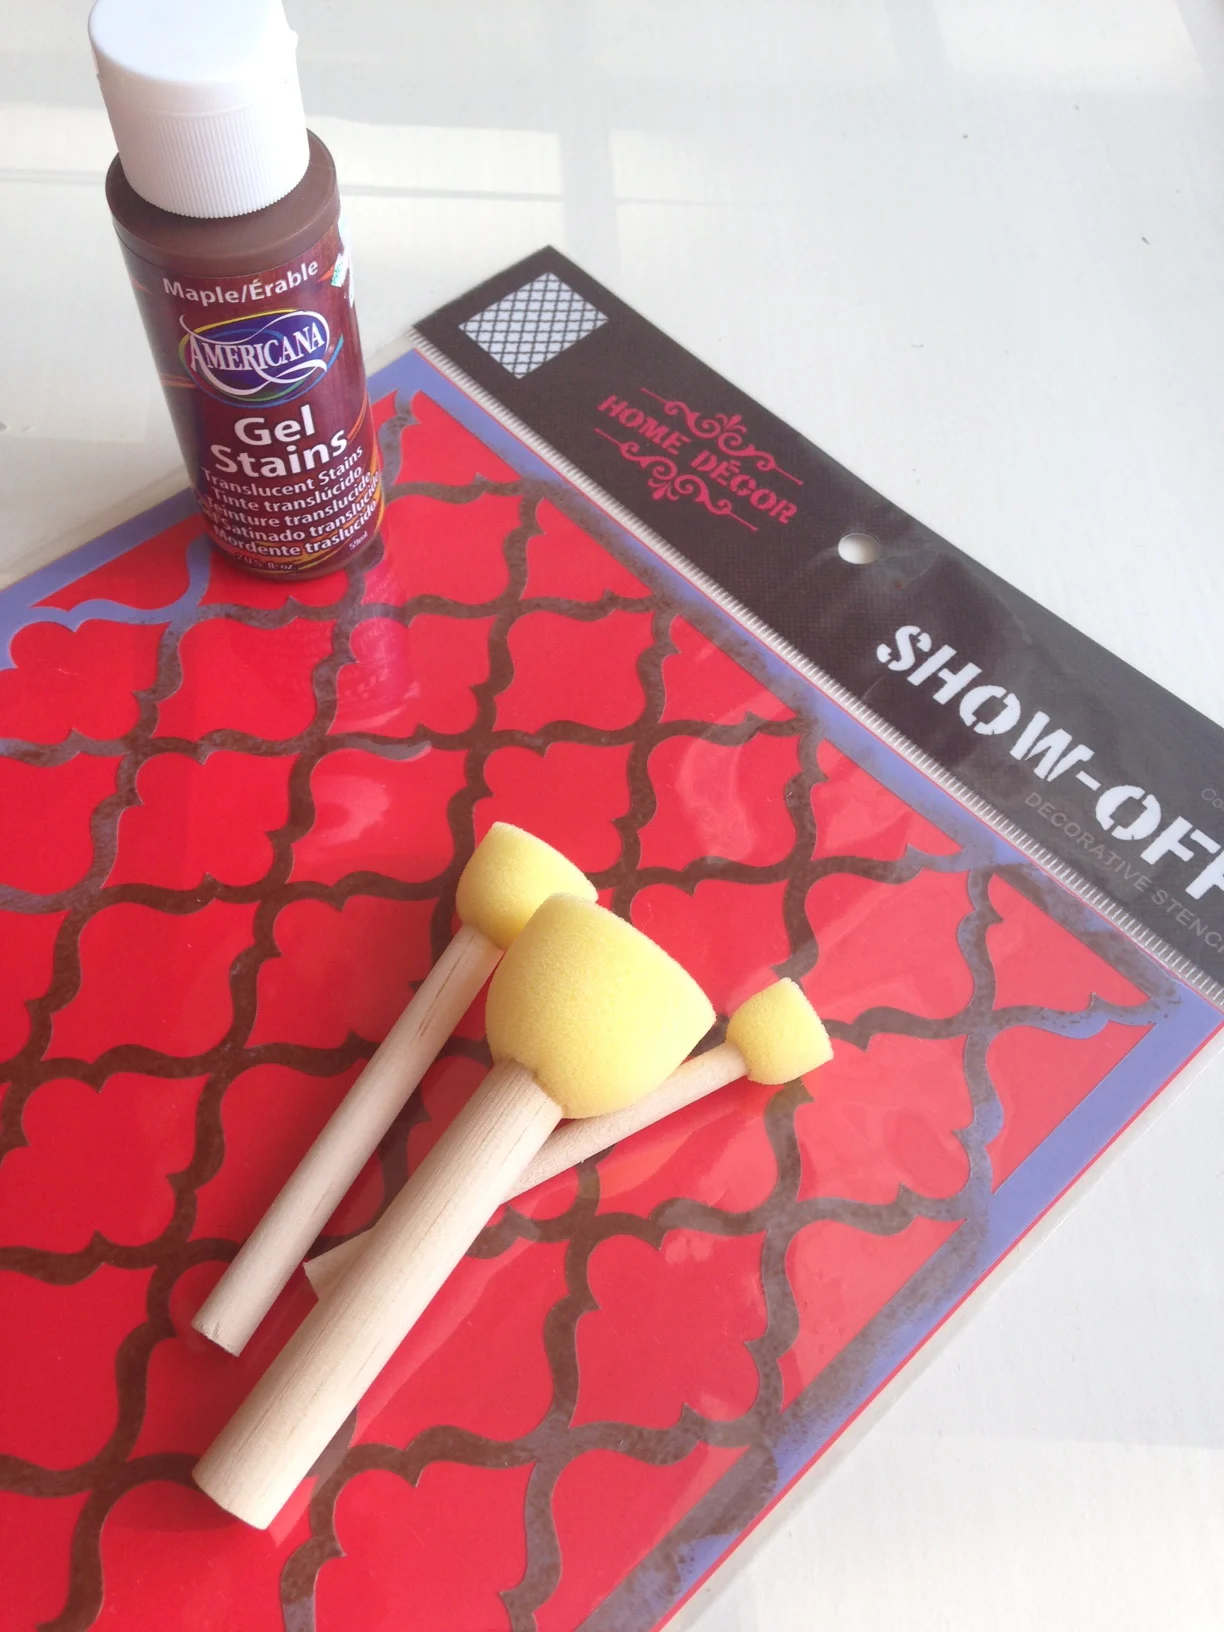
This project took less than 30 minutes to put together. I put small amounts of stain on the sponge brush and dabbed it onto the stencil until it was evenly coated. After the stain fully dried, I lightly sanded the B to give it more of a natural, distressed look (this also smoothed out any inconsistencies in the stain). Then I glued an artificial flower in the upper corner to add some color and girly-ness.
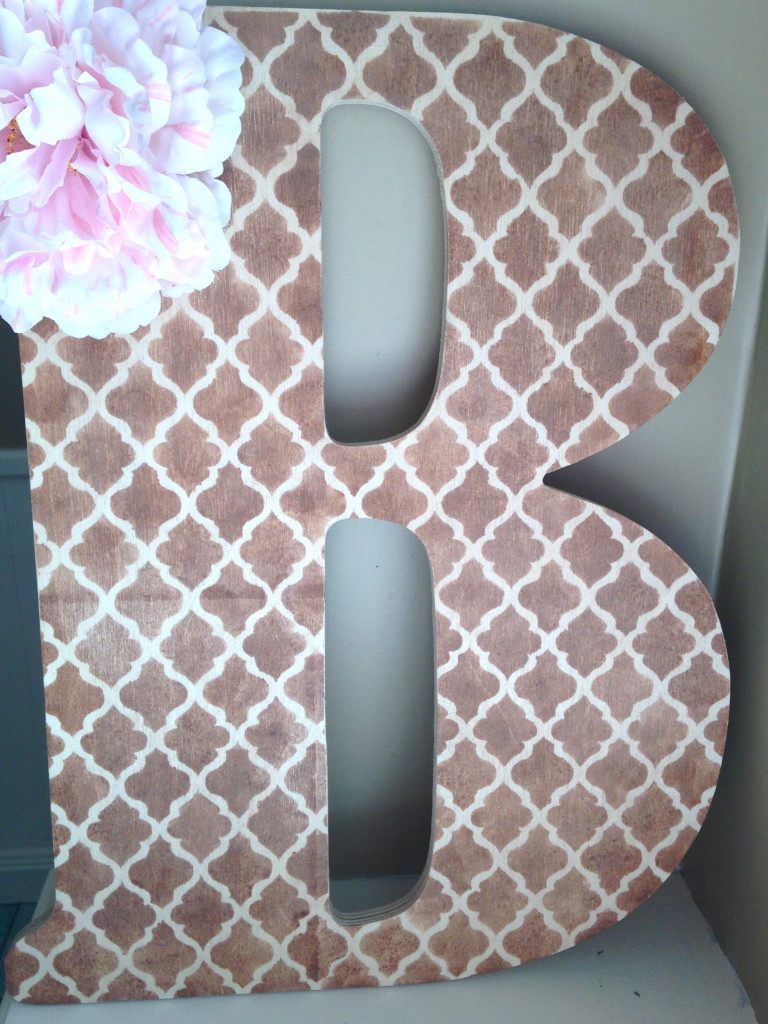
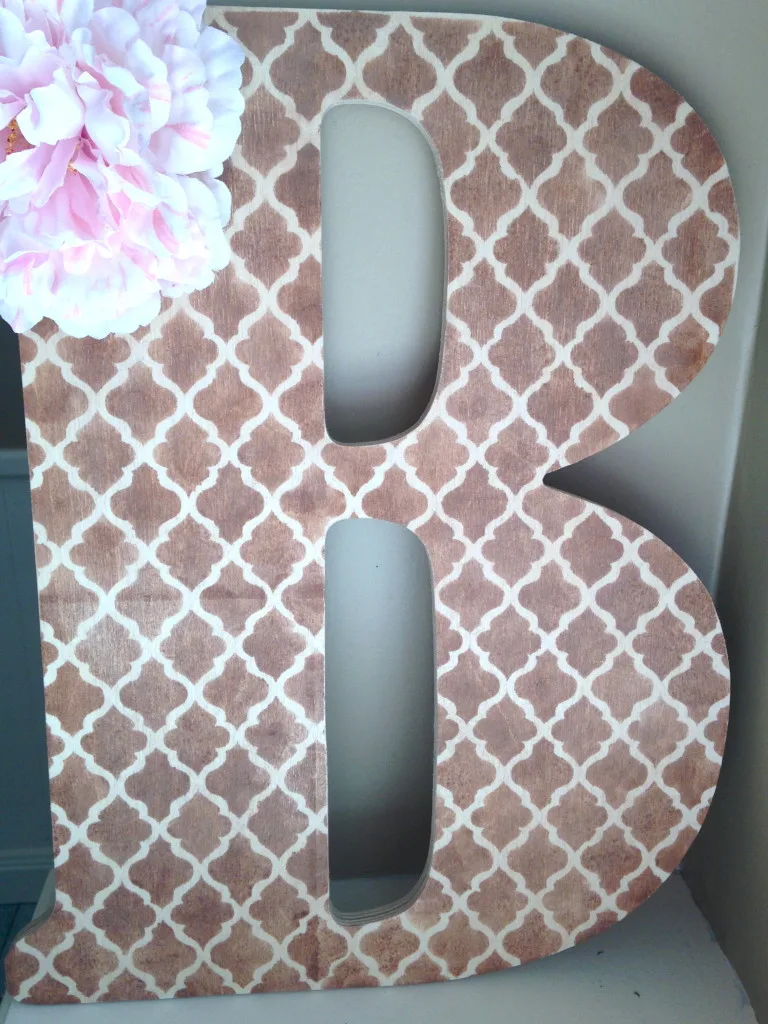
What's nice about this project is that you can customize the letter with any sort of stencil you like, glue on any sort of flower or embellishment you like, or use paint instead of stain if you want it to be a certain color. You could even stain the entire letter darker first, and then stencil over it with paint. The possibilities are endless!
Considering the low time commitment and low cost of this project, I'd recommend it to even the most reluctant crafters. When it comes to crafts, if I can do it—anybody can!
Marlene
Tuesday 26th of May 2015
I have a cork board E that I need to do something with, so u think if I prime it first this would work? I don't intend to use it as a corkboard
Alyssa
Tuesday 26th of May 2015
Hmmmm...maybe? I'm thinking it might work better not primed, but don't trust my advice because I'm not an experienced DIYer. :)
Linda Riley
Friday 17th of April 2015
Looks great. I spent a small fortune ordering the letter R (just painted black) for Mike's poolroom. I could have made it for half the price by your way.
Alyssa
Friday 17th of April 2015
Oh no...I wish I'd known. I would have happily made one for you! Hobby Lobby has the best assortment of letters because they're nice & big.