School photos, childhood photos, Santa photos, wallets, 8x10s, sports photos, oh my! If you're looking for an inexpensive and easy way to organize your printed photos, this post is for you.

I lied a little. In my last post, I told you that deleting your photos would be the hardest part. I really did believe that...until I started this part (organizing my printed photos).
BUT, before you get intimidated and start throwing in the towel, I also need to tell you that Part 3 was the most satisfying part of this project for me. Because, while I definitely have more digital photos to contend with, my printed photos were the ones driving me crazy, scattered in disorganized boxes, bins and closets throughout the house, coming in all sorts of odd shapes and sizes, and just a hot mess.
There was one very important phrase that got me through this part of the project: DONE IS BETTER THAN PERFECT!
I literally repeated this phrase out loud to myself over and over again while I working this.
- I had to accept that my photos will not be in perfect chronological order.
- I had to accept that my idea of creating a lovely Christmas scrapbook documenting each holiday, year after year, was not going to happen.
- I had to accept that I will never, ever have a use for 40 wallet size photos of my daughter when she was two.
Once I let go of some of my past expectations, and focused on getting my photos organized and functional, it was a lot easier to move forward with this project, and to keep on moving until it was DONE!
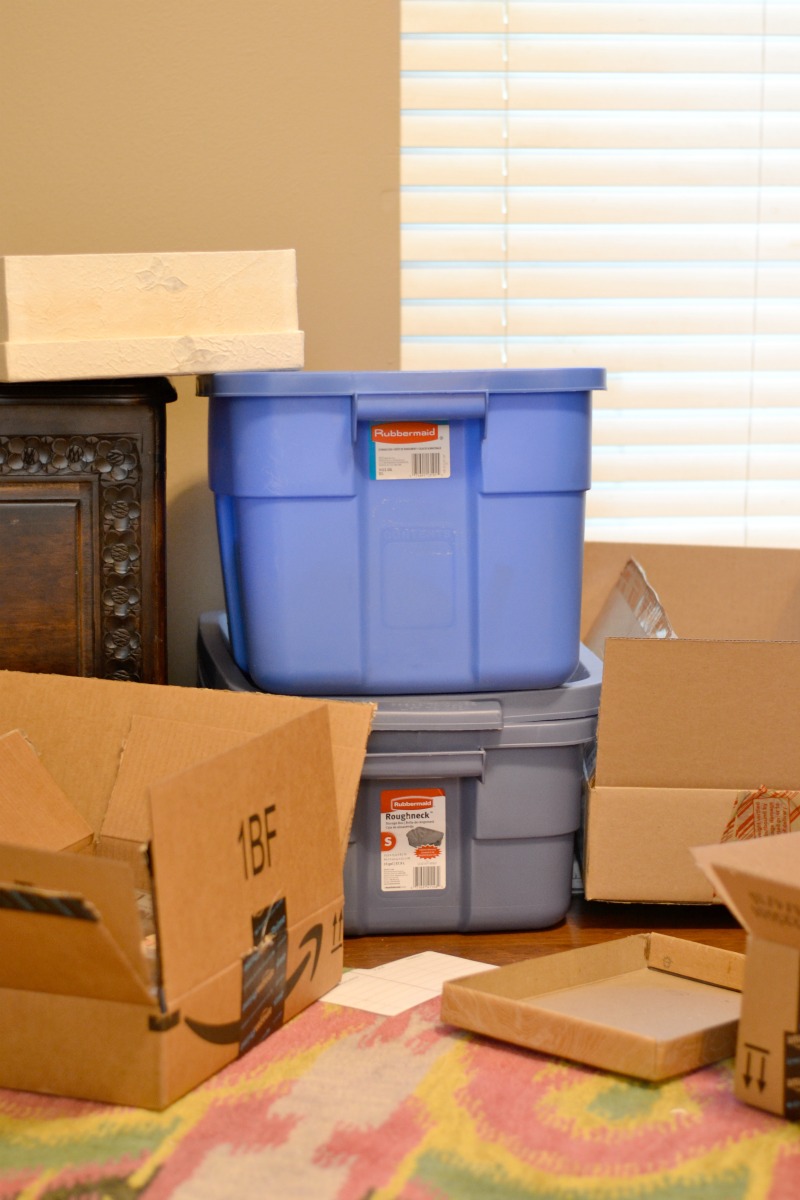
Here's a breakdown of what I did to turn this:

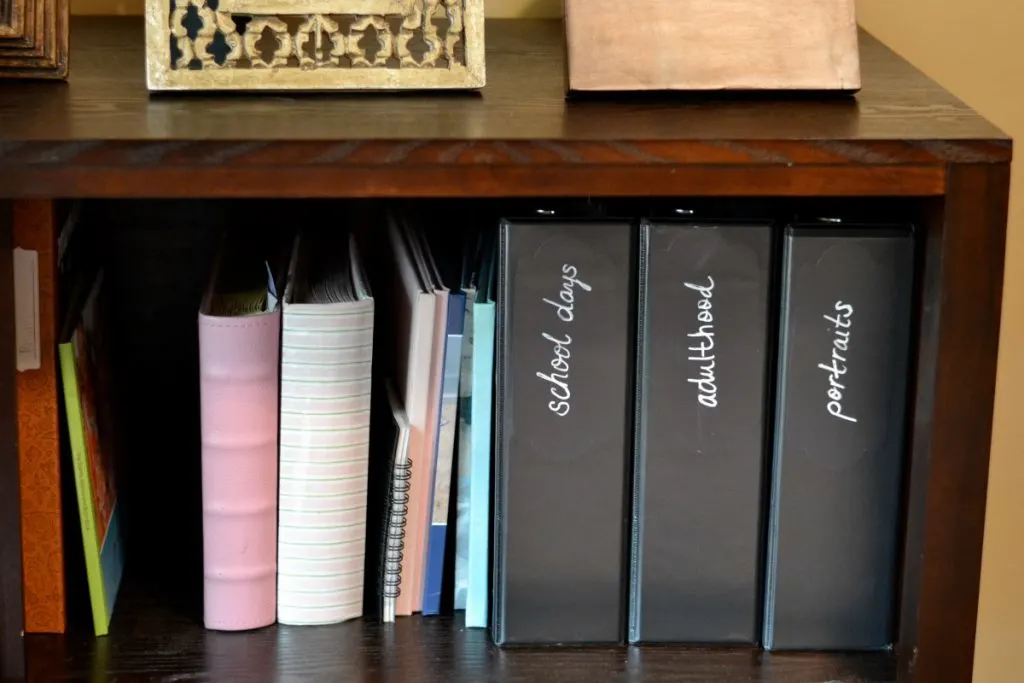
into this:

Tips for Organizing Your Printed Photos
1) Designate an organizing area.
Hopefully you have a room or area that you can leave messy for a while because this is not going to be done in one day. I made a mess of our dining room table for about two weeks, but it was worth it in the end. Actually I think that using a main space in our house (versus a back bedroom or basement) gave me added incentive to get this done because I wanted my dining room back!
You'll want to gather ALL of your photos into this area. Check the garage, the attic, drawers, boxes, bins, kids' rooms, and anywhere else you might have photos lurking.
2) Separate out your special portraits.
If you've got some professional 8x10s and 5x7s, kids' school pictures, sports team photos or anything else that's not a traditional snapshot, go ahead and put those in a separate pile. You don't HAVE to do this, but I like having my special portraits separated from the snapshots.
3) Determine time period categories for your regular photos and group accordingly.
Depending on the amount of photos you're dealing with, you'll need to create categories that work for you. Since I was dealing with photos that spanned about 20 years, I decided to break them up into five general categories: middle school, high school, college, early adulthood, after kids.
My thinking was that even if I didn't get my photos in perfect chronological order, at least they would be in the correct general category. So if I'm ever looking for a photo from my high school days, or I want to check out some pictures of myself in my 20's, I'll know where to look.
After I created my categories, I got out some shoeboxes and labeled them accordingly. Then I started dividing all of my photos into the appropriate boxes. As I was sorting, I did try to keep photos of a particular event (a trip, a birthday celebration, etc) together, but I did not go crazy trying to get them all in chronological order. Remember the motto: DONE IS BETTER THAN PERFECT!
Yes, in a perfect world, I would like to have every photo in precise order, week to week, and year to year. But for now, I'm just happy to have them out of the boxes and into a binder where I can see them, enjoy them, and easily access them when I want to. If my eighth grade pictures are mixed in with my sixth grade ones, who really cares!
4) Order photo organizing supplies.
This is where it gets a little tricky. You see, until I started looking for ways to get my printed photos organized, I never realized how many shapes and sizes my photos came in! I have all sizes, ranging from wallet sized to 11x17. I have polaroids, photo booth strips, and square photos from the 80's.
I'm sure you all have got all that stuff, too.
I first looked into purchasing albums for each photo size. But those were way too expensive. It cost almost $40 for one album that held about ten 8x10 photos!
Then I thought about scanning the printed photos or hiring a scanning service. But again, that was going to be quite expensive, and also very time consuming since I'd still need to create and order photo books once the photos were scanned.
After doing some more research, I came across some three-hole photo organizing sheets, which you can purchase to hold almost any size photo. The thing I love about these sheets is that you can put them into a simple, inexpensive three-ring binder, add as many sheets as you want/need, and move them around as needed.

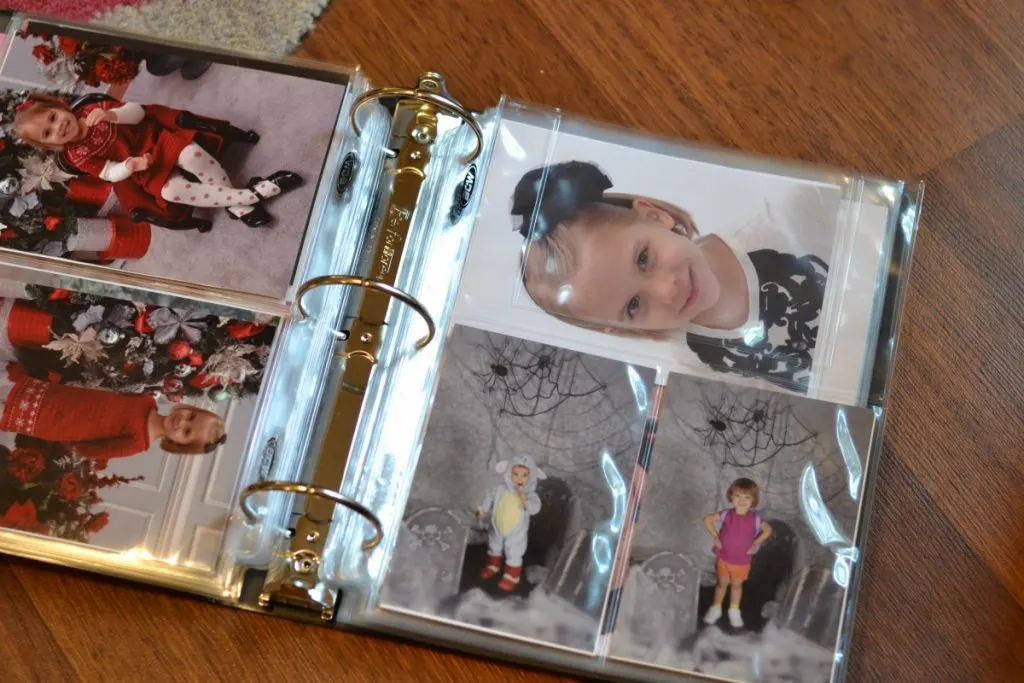
This was so much less expensive than a designated "photo album," and more convenient as well.
Here are the exact sheets I ordered on Amazon (these are my affiliate links):
- BCW Pro 4x6 photo sheets
- BCW Pro 5x7 photo sheets
- BCW Pro 8x10 photo sheets
- C-Line Ring Binder 3.5x5 photo sheets
5) Create binders.
Like I said earlier, your binder sizes and categories will vary depending on the type and quantity of photos you have. I decided to go with some really large 4" binders so that I could include lots of photos in each one. But you can easily use smaller binders if you have less photos or if you want to create more specific categories. I also stuck with plain black since I'm storing mine in a cabinet, but there are all kinds of pretty patterned binders you can find if you want yours on display.
After a few days of really digging in, I was done! And now instead of six bins under the bed, I have a series of binders that I can easily access whenever I need a photo to frame, or I simply want to take a trip down memory lane.
Phew!
Questions Answered:
What if I have TONS of photos?
If you have so many printed photos that this task seems way too daunting, I strongly encourage you to pull out your favorite photos and create binders just of those. At the end of the day, the goal of this photo project is to be able to easily access, protect, and ENJOY your photos. So spend some time going through your mountains of photos, pull out your favorites, and just focus on organizing/storing those.
What about the odd sized photos that don't fit in the sleeves?
I do still have one box of loose photos, which contains some wallet sized ones from my school days, some polaroids, and some other odds and ends. I'm OK with having those in a box since it's small and doesn't take up much room.
Have any other questions? Feel free to ask in the comments.
Shelley
Wednesday 10th of January 2024
Hey kate I was searching on Pinterest on how to organize a butt ton of printed photos and your page came up. Its quite a few years back so I'm not sure if you will see this comment anytime soon...but...I have a huge bin full of pics. Like zillions! How do you feel about tossing pictures? I have this problem that I can't toss any pics of my family, like it's bad luck or something...hence the huge bin. If I'm going to organize these and put in any manageable albums, I need to purge...How do I get over that problem ? How did you do it?
Kate
Thursday 11th of January 2024
Hi Shelley, if you have a TON that you really cannot part with, you can pick out the most special ones to put in albums, and keep the rest in bins or boxes. This way you have organized photos for easy browsing but smaller bins weighing you down mentally.
karen
Friday 11th of November 2016
Do you think it will take too long to have photos scanned and then make photo books?