Hello! If you're here, that means you've already tackled the first part of the photo organization challenge, so congrats. OR maybe you just want to read ahead, which is OK, too.

This will most likely be the hardest part of the whole project. Deleting or throwing away photos is tough because we have so many sentimental feelings attached. Especially when it comes to photos of kids. I can look at the worst, blurriest photo of one of my babies, and I still get a little pit in my stomach when I go to hit "delete."
But, just as with any sort of organizational project, you'll feel so much better when you've pared things down. You'll be able to actually enjoy the wonderful photos you've collected instead of ignoring them because you're overwhelmed.
The good news is that since this is the hardest part, once you've got this done, the rest should be smooth(ish) sailing.
Ready? Let's continue.
Paring Down and Editing Photos
1) Delete or Toss "Bad" Photos
We're ALL hanging onto bad and duplicate photos. If you've captured a once-in-a-lifetime moment, by all means keep the photo even if the quality is poor. Just be honest with yourself about what's really worth keeping and what should be sacrificed.
My end goal with this project is to not only have my photos backed up and organized chronologically, but to have the best ones framed or printed into photo books. The more paring down I do now, the easier that task will be.
Deciding What to Delete:
Blurry, poorly lit photos. If you can hardly even make out the face of the person in the photo because it's so blurry, or it's horribly backlit, give it the boot.

Photos that evoke a bad memory. If you have photos of you with an ex-friend, photos of an ex-boyfriend/girlfriend, or any sort of photos that make you feel icky or sad, then get rid of them! I want my photos to make me smile and remember good things about my life. To that end, I don't have any qualms about tossing the ones that don't.
Photos that don't mean anything. You know that time you were on vacation and you just HAD to capture all of the beautiful scenery on camera? And then you're looking through photos three years later, and you're like, "What is this random picture of a tree?"
Unless you're an amazing photographer, your nature photos are rarely going to look like they did in the moment. If you're hanging on to a bunch of bland scenery photos, go ahead and toss them. The photos of people are the ones that will matter much more down the road.
Another example is event photos. Take, for instance, this lovely photo from Disney on Ice:
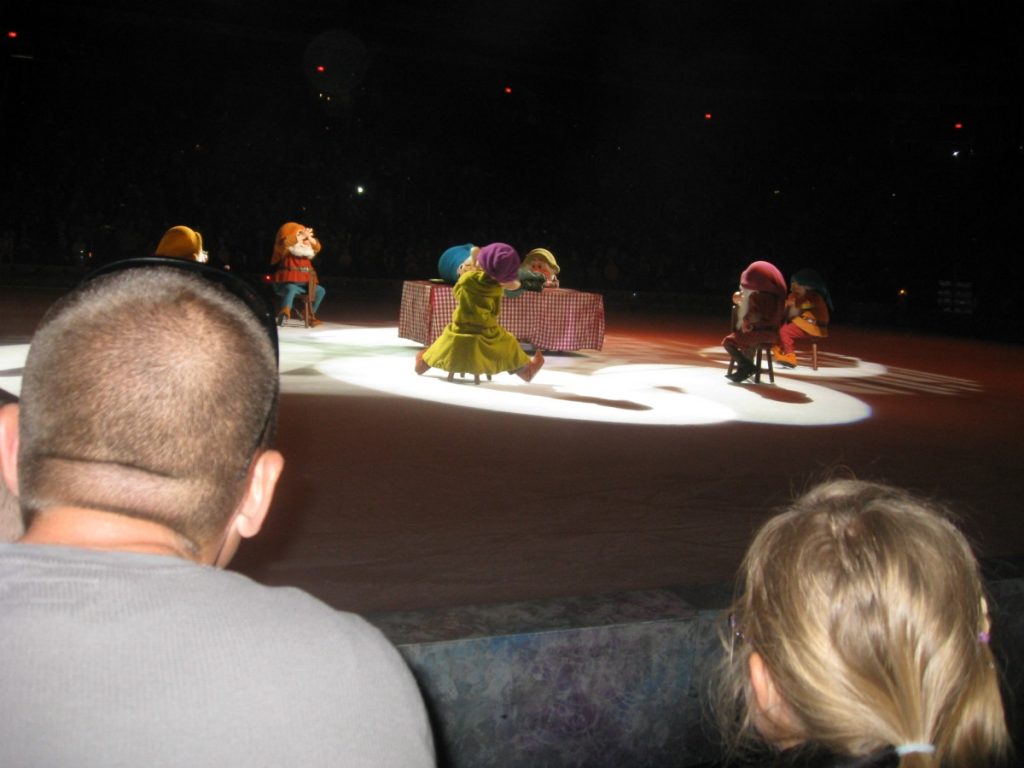
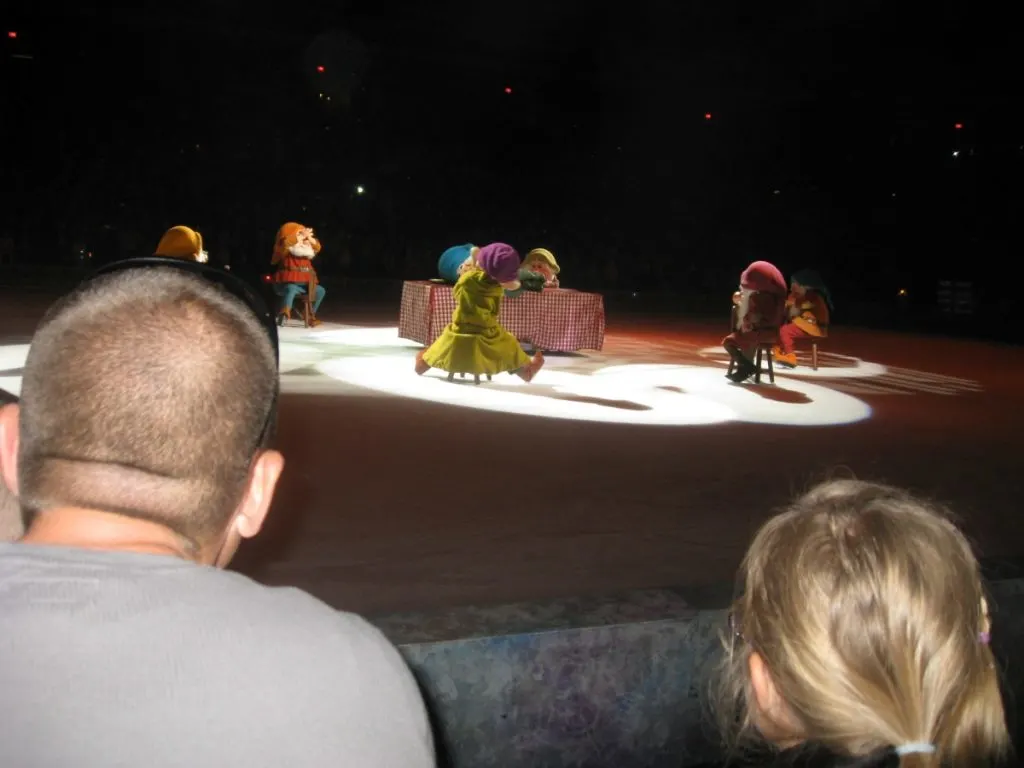
I kept a few of the better ones so we could remember that we'd been there, but I do not need a picture of Dopey's back and some dude's head.
Duplicates. This one is the hardest for me. I'll often take several shots of the same situation (my daughter playing with a stroller, for example), in the hope that I'll get one or two good ones. But instead of editing them down and only saving the best two or three, I end up thinking they are ALL cute, and so I have 18 photos of the same thing.
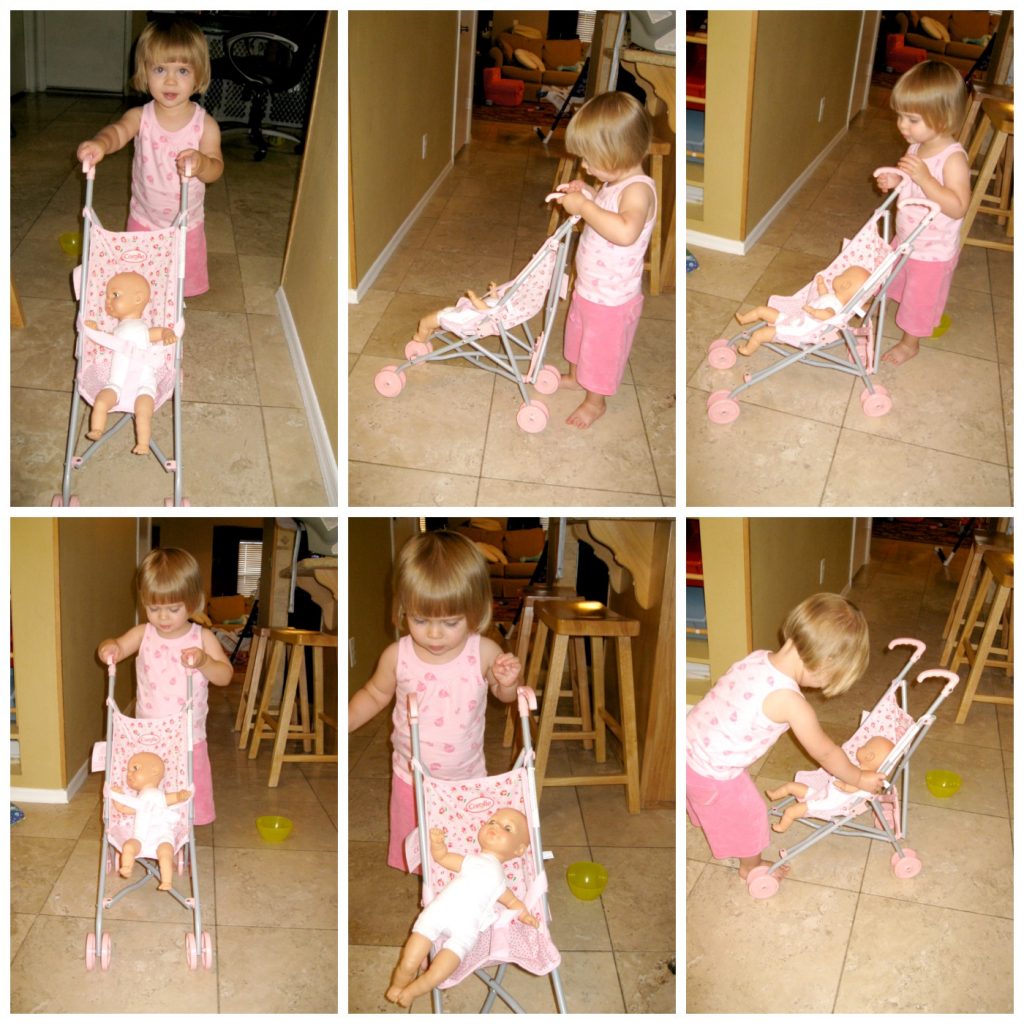
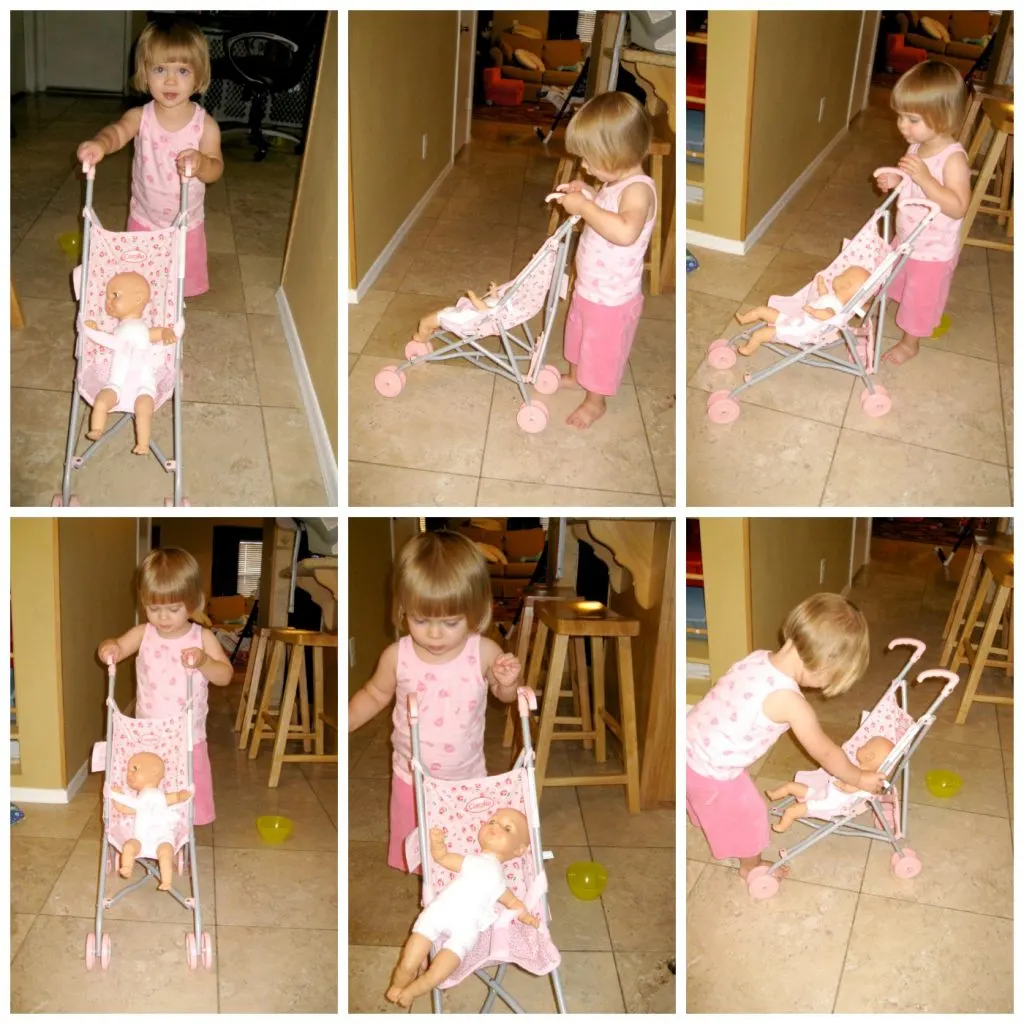
This is where you've got to get tough. If you have several photos that are virtually identical, choose the best two and trash the rest. Just do it. When you get to the stage of making albums or photo books, you will be so much happier that the difficult deleting work is already done for you.
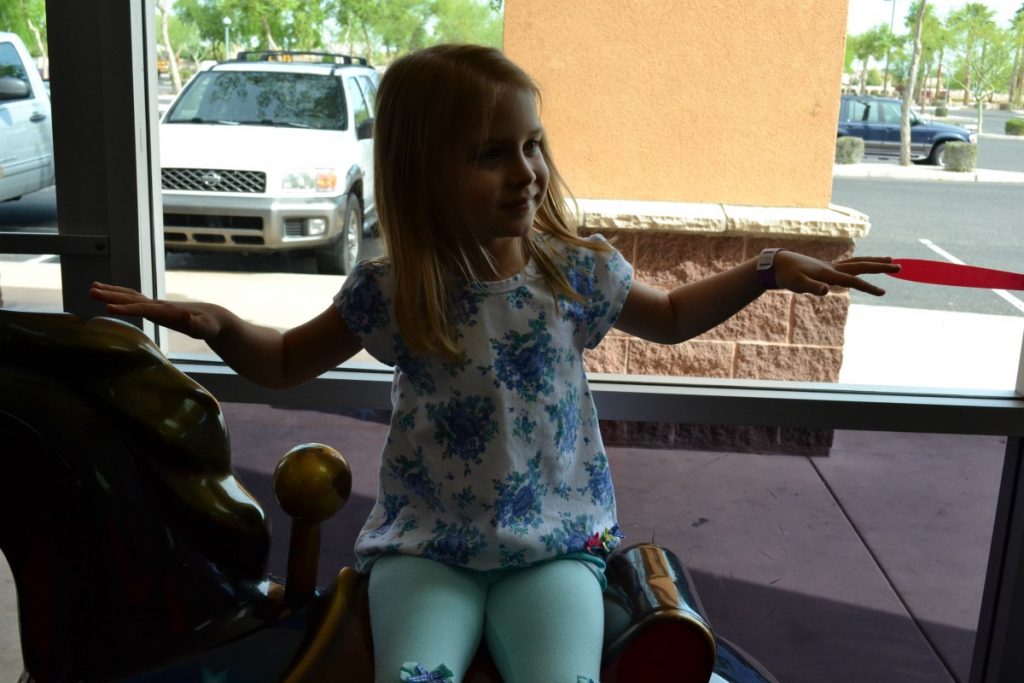
2) Edit and Crop Your Photos
Once you've pared down your digital photos, it's time to do some minor editing and cropping. This task is optional, but worthwhile. One of the great perks of digital photography is that just a few minutes of editing here and there can make a huge difference in the quality of your photos. This step can either be done WHILE you're going through the deleting process, or afterwards. It's up to you how you prefer to work.
I'm not talking about airbrushing or getting all crazy with photoshop. I just mean spending a little bit of time sprucing up your photos to make quick but impactful improvements.
Straighten a crooked photo; crop it a little closer or remove stray background objects; and adjust the exposure/saturation to make the colors pop. Any basic photo software should give you the ability to crop and make some exposure adjustments.
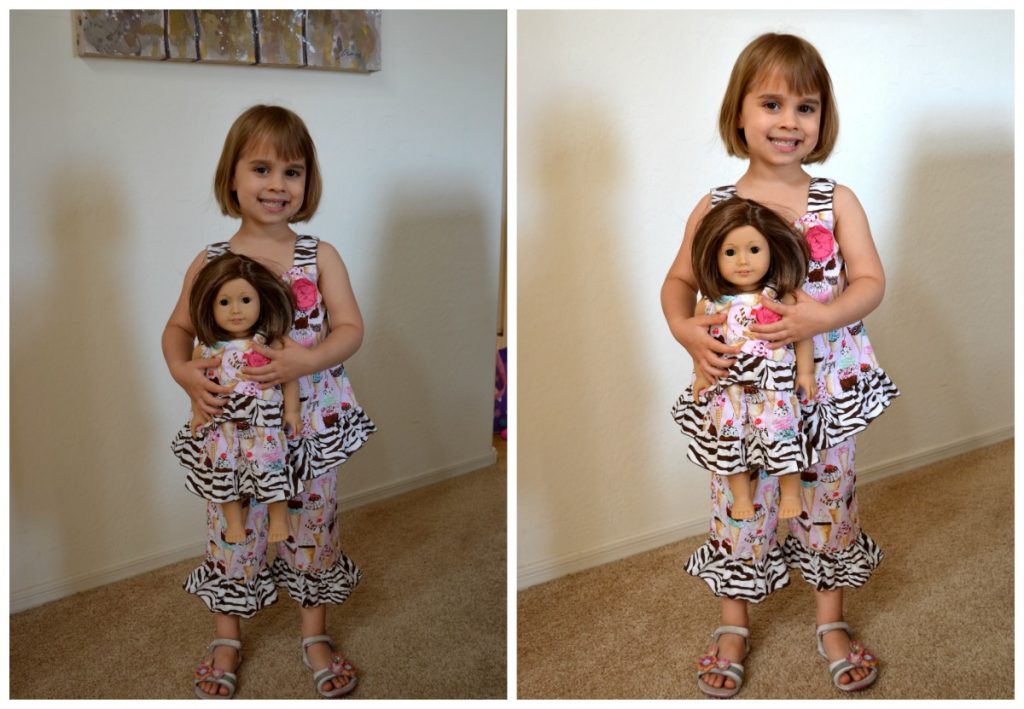
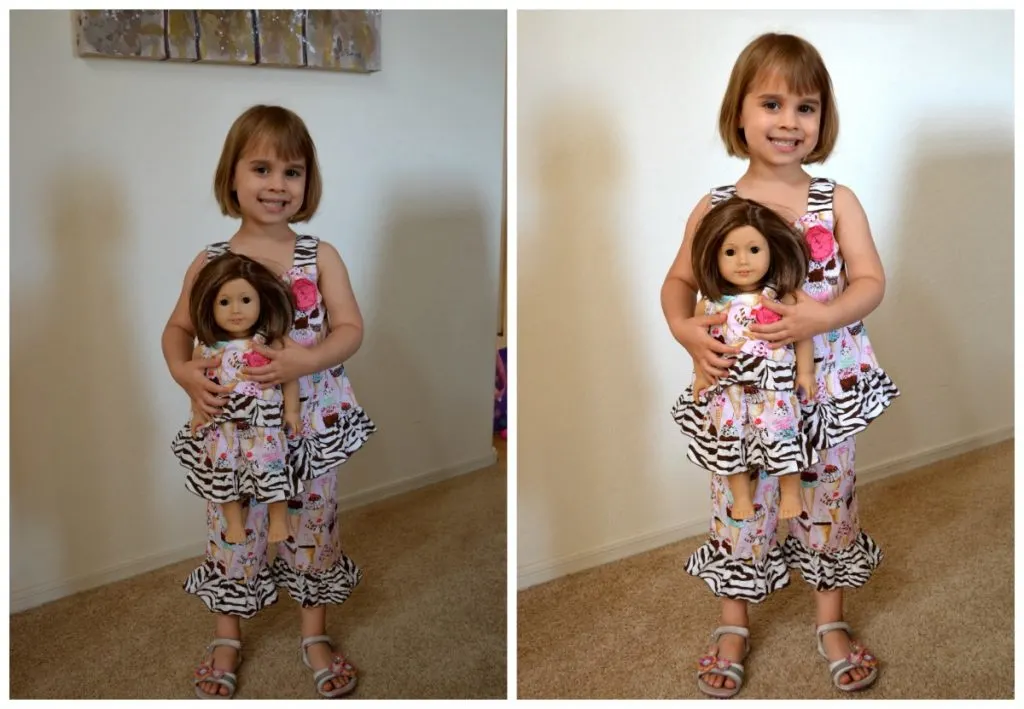
This little edit took about 5 seconds, and it made a big improvement!
Tip: Be careful with cropping. It's OK to shave off a little bit here and there, but if your photo isn't very high quality, cropping can cause the quality to deteriorate and make the photo blurry. Just proceed with caution.
That's all for this part of the challenge. If you've made progress with your photos, I would love to hear about it in the comments.
Next up, I'm talking about printed photos. I stopped ordering prints of all of my photos about eight years ago, but I still have many years of printed photos in boxes and bins throughout the house. If you're in the same boat, let's get those printed photos organized!